Post by vidal1951 on Sept 11, 2006 17:35:12 GMT -5
Level: half-advanced.
There are many ways to improve a picture.
We will use the best technique, the one of adjustments curves…
It is not complicated, we need color knowledge as for tone, intensity, saturation, but mainly, we should use the logic and the sense common with the current technology.
I have selected a fotograma of the TV. It was taken with a digital camera, it is very dark and the very out colors…
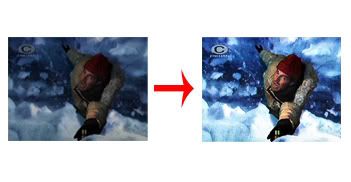
Then, hands to the work!
1. - we open the picture and we duplicate it. We will work in the layer 1.
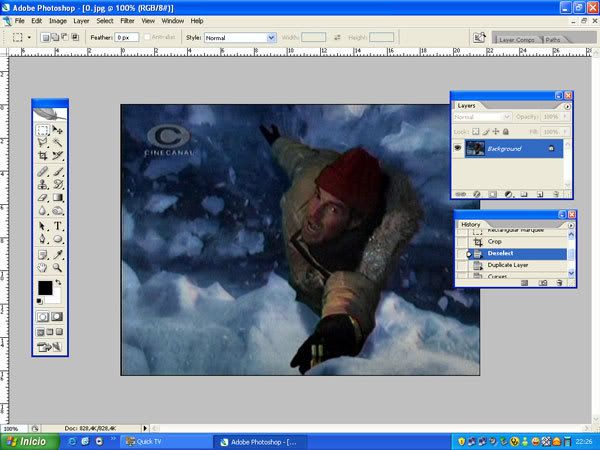
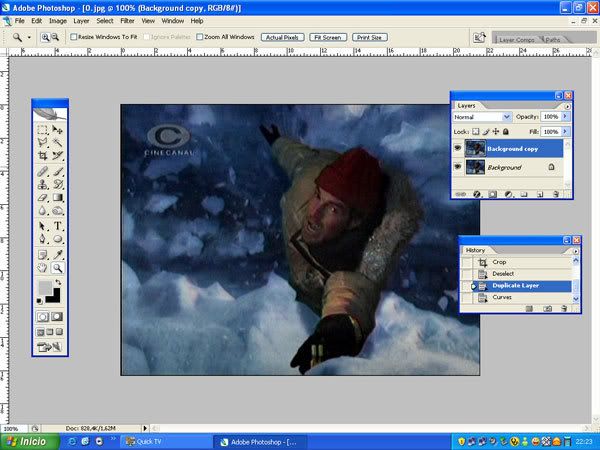
2. - we apply the adjustments with curved. I go to the image bar (image) and I look for adjustments (you adjust) and I select curves(curvas).
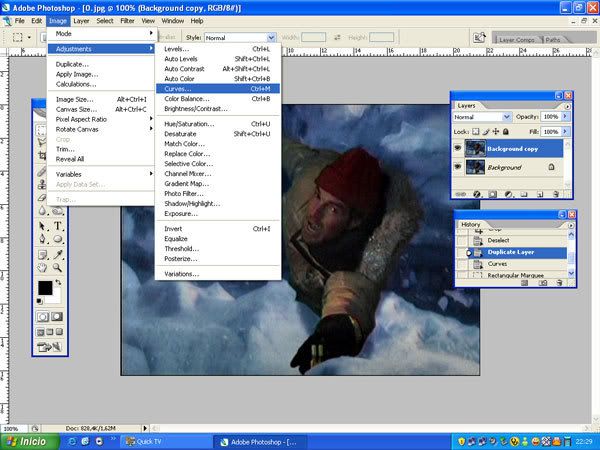
3. - I apply the adjustments in the channel RGB. I use the droppers black (black) and white (white). I can Also move different points, looking for a better option.
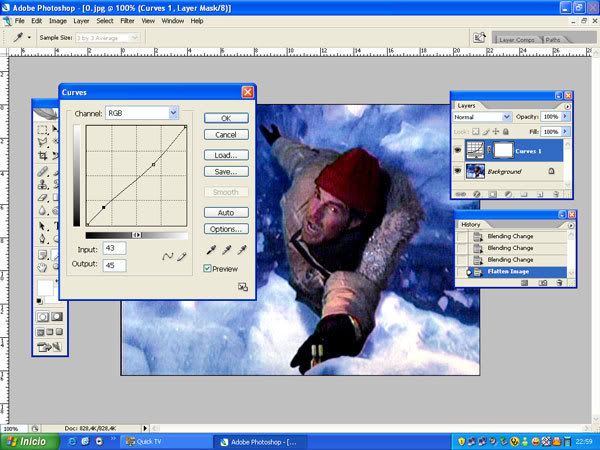
4. - I apply the adjustments in the channel NET. I use the droppers black (black) and white (white). I can Also move different points, looking for a better option.
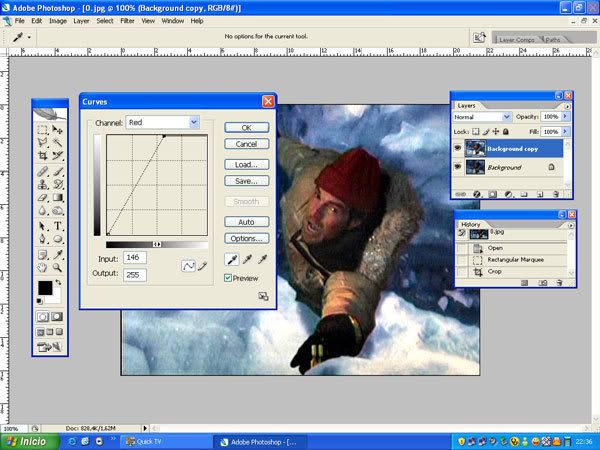
5. - I apply the adjustments in the channel GREEN. I use the droppers black (black) and white (white). I can Also move different points, looking for a better option.
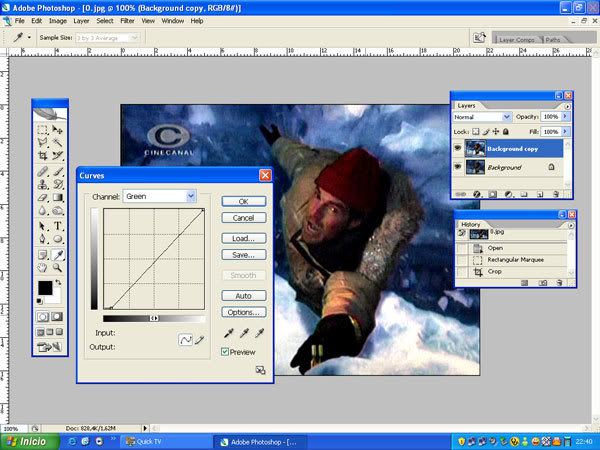
6. - I apply the adjustments in the channel BLUE. I use the droppers black (black) and white (white). I can Also move different points, looking for a better option.
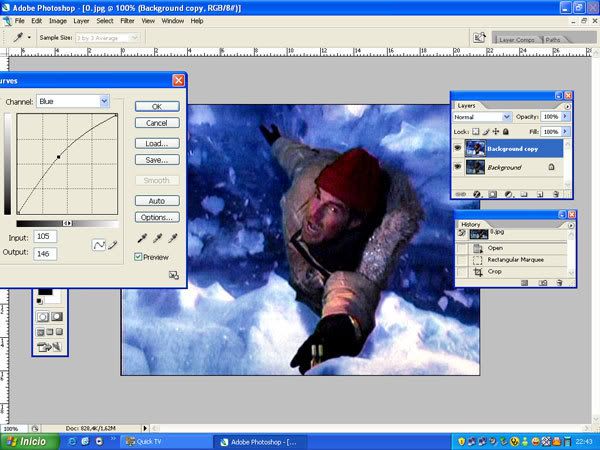
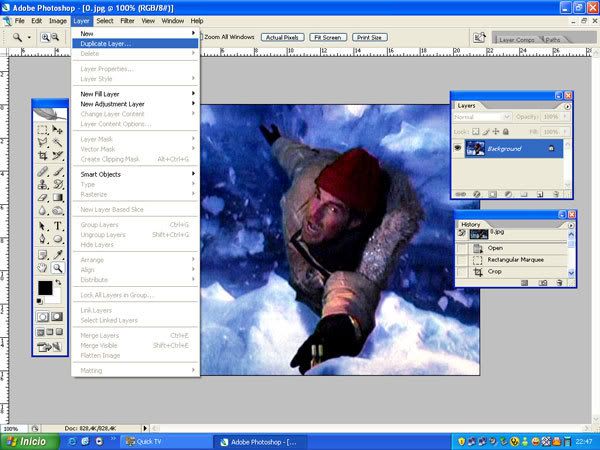
7. - I make a visible merge (I couple visible layers) and I duplicate the layer again.
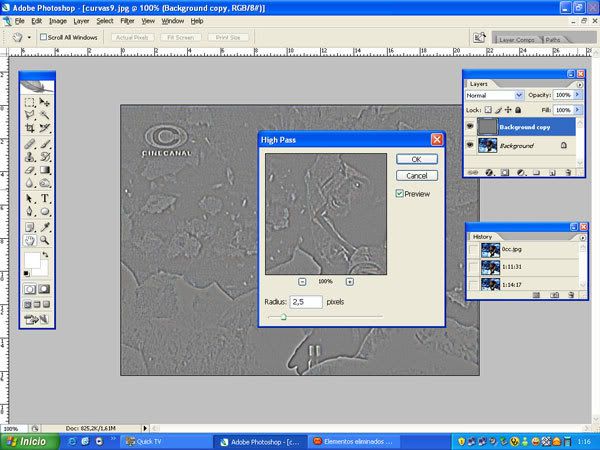
8. - Application of the filter other (other). I Select High Pass (I Happen high).
9. - I change the way the layer to color dodge. This layer clarified and it gave life to the colors of the image. The way type is free.
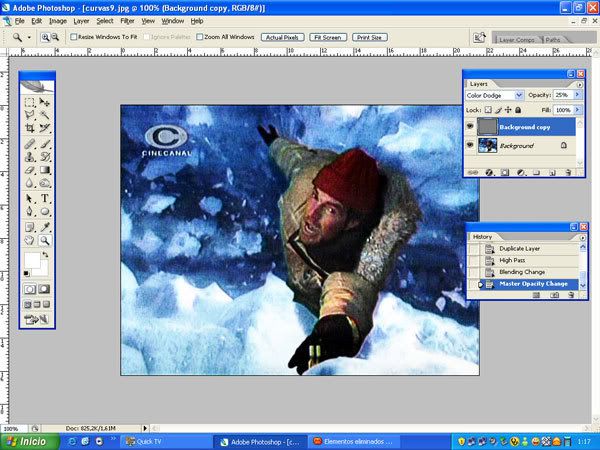
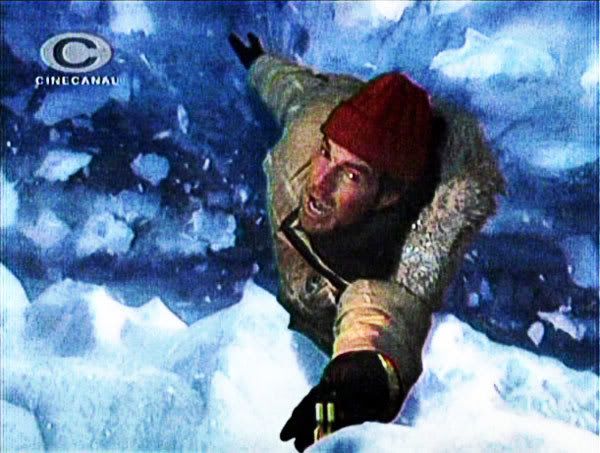
10. - we compare with the original and we see the difference.

This is everything, friends and remember:
...que if I can make it, you also.
A hug,
Vidal

